STEM Sections

Sunday, September 21, 2014

3D for Kids


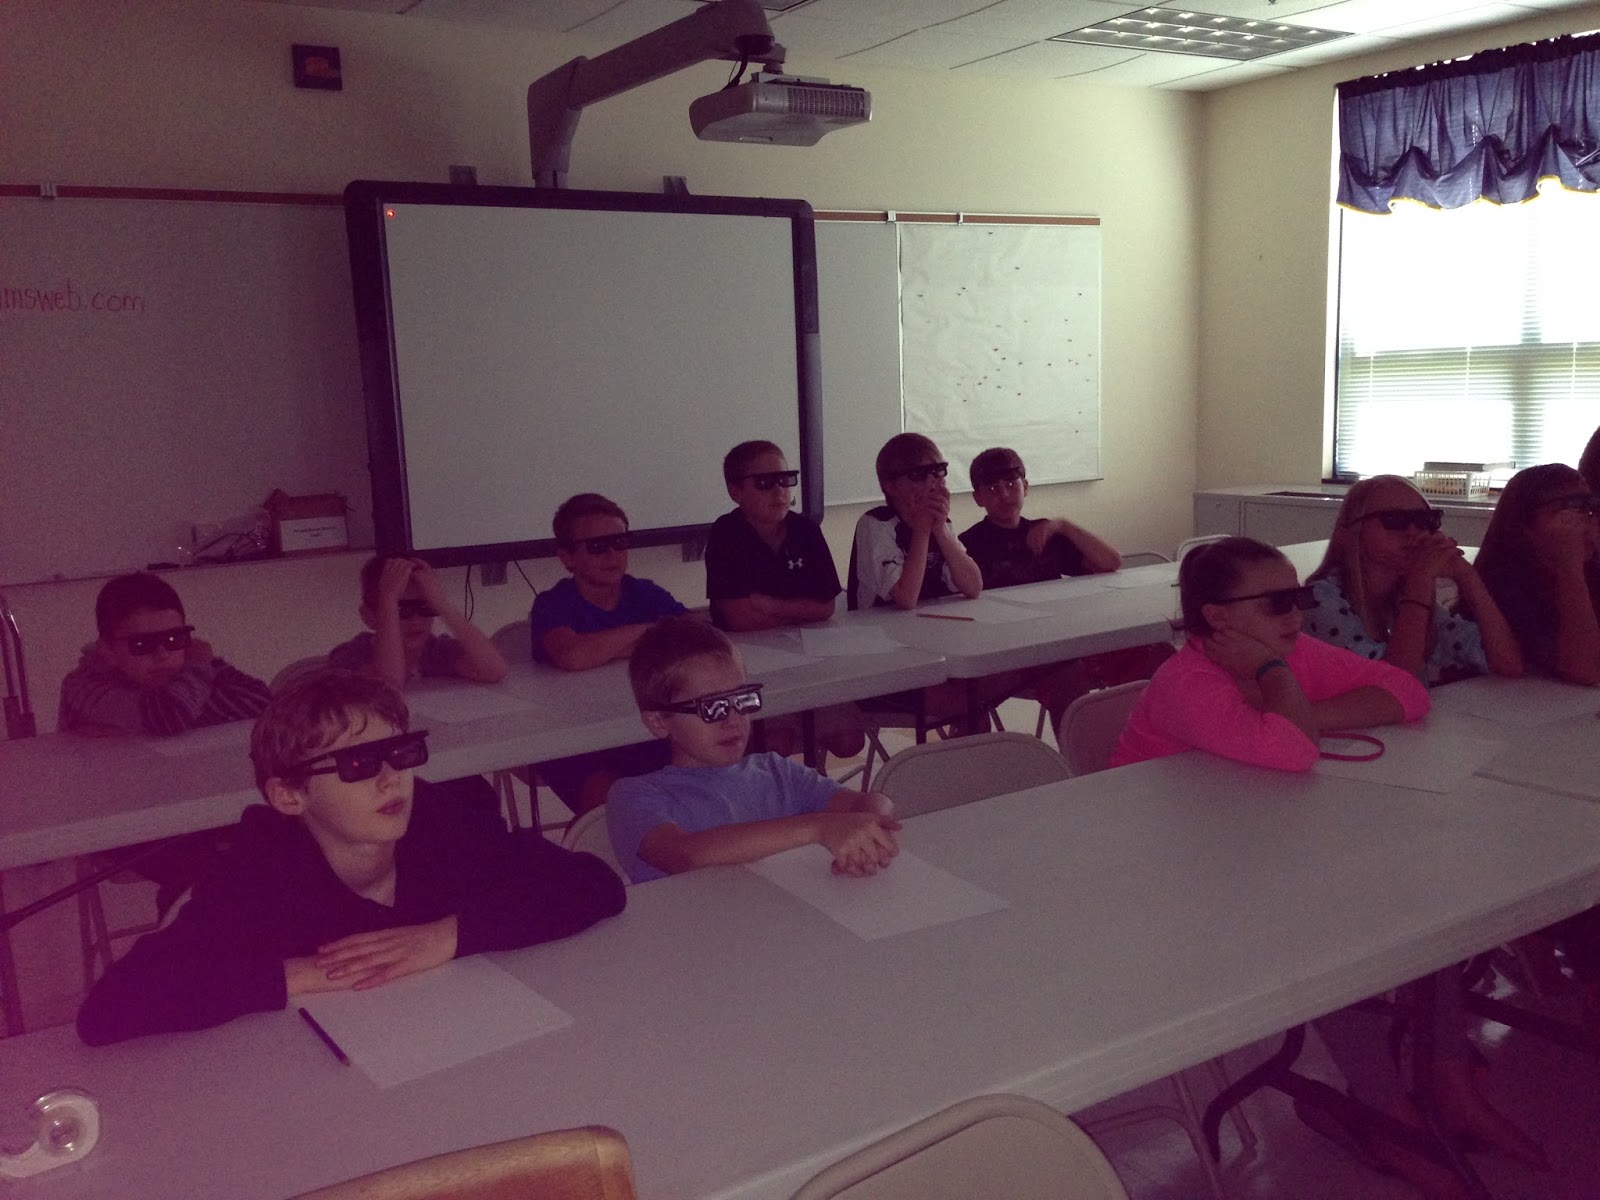
Do you know what this is?  After an amazing assembly called 3D for Kids, I am now proud to say that all of my students can answer this question.   For the answer, please click here.

This past Friday, we had the very fortunate opportunity of having Jeff Boller, an award-winning filmmaker, come to our school to speak to us about the science behind 3D.  In order to keep the group sizes small, 5th grade came to one session and 6th came to another.

During the presentation, students learned how to take photos, make videos, and draw in 3D.  Everything was done using a hands-on approach and my students were enthralled for the full hour.  This presentation was so good that it even kept my attention for both sessions.  Nobody wanted it to end!

Jeff explained how and why 3D works by using simple materials (tinsel garland, cardboard cutouts, and homemade sandwich board-style signs).  The presentation began with Jeff taking two photos of the groups to show
them how to turn a regular photo into 3D.  Next, the students created a Jurassic Park themed video and learned about the Spielberg Face (look it up on YouTube - so funny!).  Jeff also showed the students the role of a dolly grip.  After learning how to draw in 3D, we were able to watch one of the music videos that Jeff created titled, "A Geek Like Me."  He is very talented and I loved it when I heard some of my students humming along.


This presentation was the perfect fit for my students.  I have a few who are very interested in video creation and others would like to be animators when they are older.  3D for Kids exposed everyone to another STEM field and took their limited knowledge of how 3D works to a whole new level.

As a teacher, I really enjoyed the follow-up that Jeff provided me with.  He sent a link to the pictures and videos he took for me to pass on to my students.  They are able to view everything in 3D with the glasses he gave each of them.  He also gave me some ideas of how to extend his presentation into my classroom.  I would definitely give this 2 thumbs up!

Grab your 3D glasses and check out our videos, by going to this link.  You can compare the video on this page to the 3D version.  You can also get more information about Jeff and his 3D for Kids presentation here

Thanks, Jeff!!

Here's to STEM!
Mrs. Giran

Wednesday, September 17, 2014

Musical Straws

This STEM Design challenge was a lot of fun...and very noisy. The challenge posed to the students was, in their groups, they had to play a basic song using straws that were turned into an instrument. The students started the lesson by discussing what a reed's purpose is in a musical instrument. The conversation went great because many of my students are in band. Words like volume, pitch, and vibrations were used without me having to prompt the class.

After the discussion, students were shown how to cut the straw into a point. They them had to figure out how to blow into it to make a kazoo sound. This sounds easier than it actually was. Some figured it out right away, while others took a while. Even the band students had some difficulty.  I love it when simple challenges don't come easy because my students then have to adapt and persevere. Once they figured out the right technique, it was like riding a bike and the noise began.

Students received additional straws to cut and "play" so they could determine how the length of the straw changed the pitch. Once each group had a variety of straw lengths, the challenged continued. I saw many wonderful techniques. Some groups were writing down the "notes" to play along with, others were grouping straws together by length and playing that way.  One group even had a conductor who pointed at the person who should be playing the note.

We heard "Hot Cross Buns," "Twinkle Twinkle Little Star," and "Old McDonald."  Some groups decided to create an original song as time was running out.

Overall, the lesson was effective. Through a hands-on design challenge, the students were able to meet my learning target which was, "I can explain how a reed works by monitoring the effects of straw length and pitch."  The students were laughing, having super discussions, and learning scientific concepts all while rising up to a challenge that, at the beginning, caused frustration.

One important note - keep your door closed and warn your fellow teachers that musical straws will be taking place. One teacher told me that at first she thought the sound was a baby crying and then when she peeked into the hall, she realized it was coming from my room!


Here's to STEM!
Mrs. Giran

Wednesday, September 3, 2014

Can You Save Fred??

While searching for a good lesson that would allow me to introduce the Engineering Design Process, I came across the "Can You Save Fred" activity.  I told the students that my friend, Fred (who happens to be a worm) enjoys boating, but never learned how to swim.  The problem is his boat capsized and, because worms have small brains and aren't too smart, he didn't have his life preserver on.  It (gummy Lifesaver) became lodged under the boat (plastic cup).  The challenge for the students was to get the life preserver out and place it around Fred so he could swim to shore.  The catch?  They could only touch the materials with paperclips. 

I had the students working in groups of 3 and they each had one paperclip.  This activity began with an explanation of our learning target, "Through inquiry, I can identify the steps to the Engineering Design Process."  We broke the target apart and discussed what inquiry is and how it would look in a classroom.  The students then began the task of saving Fred.

I have to say that my classroom became quite loud, although the students were on task the entire time.  I even had one teacher stop in to see what the excitement was all about.  He made the comment that it was true active learning.  The students were planning out their moves and, most importantly, discussing how to improve what they were doing.  Eventually, all groups were successful and very excited to pose for a picture of Fred.


While a simple activity, there was a lot of learning going on.  After having the students both draw and write out the steps they went through, we compared this to the steps of the Engineering Design Challenge: Ask, Imagine, Plan, Create, Improve.  They were able to identify the phases they experienced and relate them back to the EDP. 

We once again reviewed our learning target and determined  that we did reach it and more because we could not only identify the steps, but explain how they are used in the real world. 

Many great discussions came up from what a real scientist does, to how the EDP can be used in writing and science.  I look forward to more of these discussions throughout the year.  It was a great day in our classroom!

Here's to STEM!
Mrs. Giran